Master Organizational Branding Role
Elevate Your Branding with Microsoft Entras New Administrator Role
Key insights

- The Organizational Branding Administrator role in Microsoft Entra allows users to update company branding without needing Global Administrator permissions.
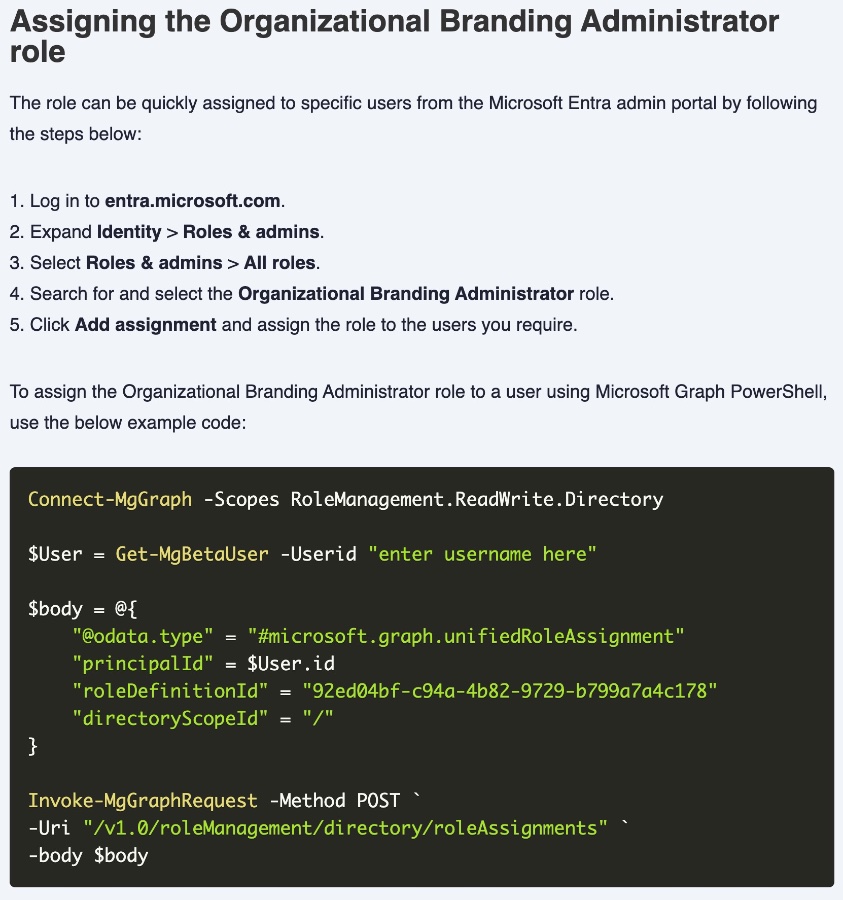
- To assign the Organizational Branding Administrator role, you can use the Microsoft Entra admin portal or Microsoft Graph PowerShell commands.
- Using the custom branding features requires having either Microsoft Entra ID P1 or Microsoft Entra ID P2 licenses assigned to users.
- Updating your organization’s branding includes modifying elements such as logos, background, layout, and custom CSS settings.
- While the Organizational Branding Administrator role may seem beneficial, it also presents risks such as the ability to redirect the 'Forgot password' URL to a potentially malicious site, stressing the need for careful assignment and enhanced account protection.
Importance of the Organizational Branding Administrator Role
The Organizational Branding Administrator role in Microsoft Entra represents a significant shift in how organizations manage their branding within Microsoft's ecosystem. This role specifically enables users to take charge of branding elements such as logos and the overall look and feel of their platforms without requiring the extensive permissions typically associated with the Global Administrator role.
Use the Organizational Branding Administrator role to update your organization's branding in Microsoft Entra. This role now includes the OrganizationalBranding.ReadWrite.All Graph API permission, allowing assigned users to modify company branding settings. Previously, only the Global Administrator had this capability, but now, the scope is narrowed with the Organizational Branding Administrator role.
Assigning the Organizational Branding Administrator role is straightforward. From the Microsoft Entra admin portal, navigate to Identity > Roles & admins > All roles, search for the role, and assign it to desired users. For PowerShell users, the process involves using specific commands to assign the role to a user.
To utilize custom branding features in Microsoft Entra, it's necessary to have either the Microsoft Entra ID P1 or P2 licenses. Once the Organizational Branding Administrator role is assigned, log in to the admin portal to access and modify branding settings such as logos, backgrounds, layouts, and custom CSS.
- The role simplifies updating organization's branding in Microsoft Entra.
- Branding settings can be modified through the admin portal or via PowerShell.
- Be cautious, as the role could be exploited, e.g., modifying the 'Forgot password' URL.
Read the full article Update Branding With the Organizational Branding Administrator Role
People also ask
How do I change the branding in Office 365?
At this juncture, you're enabled to tailor the Microsoft 365 login page with your organization's branding elements. To embark on this, log into the Microsoft Entra admin center, maneuver through the left-hand menu to access Identity > User experiences > Company branding, and select Edit to delve into the customization settings.
Where is company branding in Microsoft Entra?
To locate the company branding in Microsoft Entra, ensure you're logged in as an Organizational Branding Administrator. Proceed by navigating through Identity > User experiences > Company branding. Should there be an existing customized sign-in experience, you'll find the Edit option ready for use.
How do I remove company branding from Azure AD?
For the removal of company branding from Azure Active Directory, steer to Company Branding > Configure. Within the Configure company branding page, you're at liberty to add, delete, or amend any particulars as guided by the section "Customize your Azure AD sign-in" of this document. Ensure to hit Save upon finalization.
How do I add my organization logo to Office 365?
The process involves adding your Organization Logo to Office 365 directly.
Keywords
Update Branding, Organizational Branding, Branding Administrator, Branding Update, Corporate Branding, Branding Role, Improve Branding, Brand Management