
Power Apps: Set Default Dropdown & Choice Values
Principal Program Manager at Microsoft Power CAT Team | Power Platform Content Creator
Master Power Apps Defaults for SharePoint: Dropdowns, Dates, Lookups & More!
Power Automate is a powerful automation tool which allows users to use a filter query to retrieve items from SharePoint and other platforms using OData syntax. This functionality is crucial for automating item retrieval from various repositories. A detailed explanation of the filter query will clarify its applications within different operations.
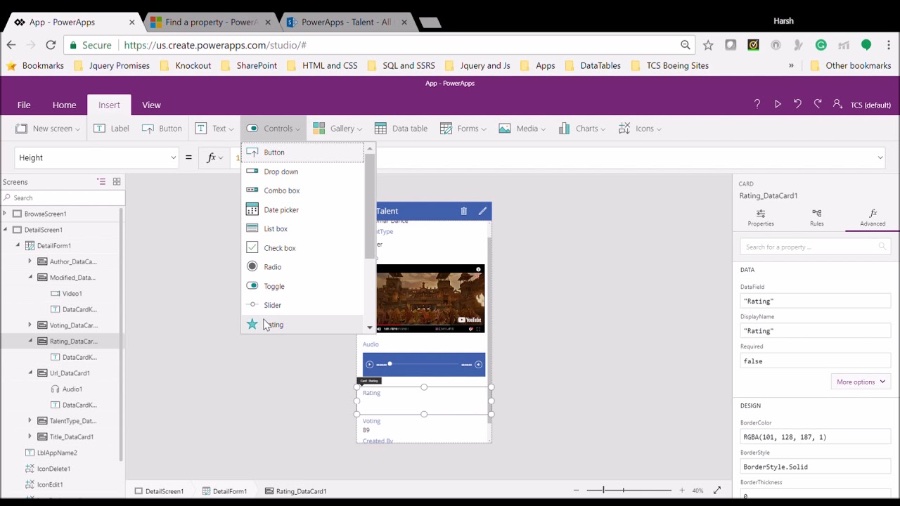
Setting default values in Power Apps, especially when connected to SharePoint, enhances user experience and data consistency. Here's a breakdown of how to set default values for various controls and fields:
- Default Values for Controls/Fields: Use the 'Default' property of each control to set its initial value.
- Default Date: Set the Default property of the Date Picker to
Today(),DateAdd(Today(), -1, Days)for yesterday, etc. - Default Dropdown Field: Set the Default property to a static value like "Please Select" or bind it to a data source.
- Default Combo Box Control: For single select, use the DefaultSelectedItems property. For multi-select, bind the Default property to a collection or array.
- Default Person: Use Office365Users.MyProfile() to set to the current user. Use Office365Users.Manager() for the manager.
- Default Choice Fields: Set the Default property to one of the choice values.
- Default Date Fields: Similar to the Default Date, use the Today function or other Date functions.
- Default Multi-Select Choice Fields: Bind the DefaultSelectedItems to an array of default choices.
- Default Lookup Column from SharePoint: Set DefaultSelectedItems to the desired lookup value.
- Default Limit Choices in Dropdown: Filter the Items property of the Dropdown to limit choices.
- Set Default Value based on AD Profile Properties: Utilize Office365Users.UserProfile(User().Email).{property} to fetch and set default values.
How to Setting default values in Power Apps
Setting default values in Power Apps is crucial for user experience and data accuracy. This involves configuring the 'Default' or 'DefaultSelectedItems' properties of various controls like Dropdowns, Date Pickers, and Combo Boxes. These defaults can be set to static values, dynamic expressions, or even tied to user profiles in Azure AD. When integrated with SharePoint, defaults can also be set for Lookup columns and Choice fields, further streamlining data entry and ensuring consistency.
The Get Items action in Power Automate uses filter queries to precise the retrieval of data according to specific criteria. These queries use Power Automate fields, along with operators like "EQ", "GT", and "Startswith". Understanding the Power Platform’s capabilities for item filter queries is essential for effective automation.
As an enhancement to Microsoft Flow, Power Automate supports non-developers in creating automated workflows. The Power Automate Filter Query utilizes OData, a system query option, to streamline operations such as "Get items" or "Get rows". This allows users to target data retrieval and manage large data volumes efficiently.
For instance, a SharePoint list can be filtered by due dates using the filter query syntax "Due Date ge '@{utcNow()}'" to fetch items due today or later. Implementing such queries ensures the efficiency of data filtering. There are several ways to filter data within Power Automate, each with unique applications and requirements.
- Eliminate Query is robust for filtering at the source but requires understanding the OData query language.
- Filter Array action is used post data retrieval, and it allows for specific data filtration within your flow.
- Condition-based filtering enables logic flow according to predefined conditions.
Select action applies columns to datasets but does not conditionally filter rows. When choosing a filtering method, consider your dataset’s size, flow requirements, and knowledge of the OData filter query language.
To use a filter query in the Get Items action, you start by logging into Power Automate and creating an Instant Cloud Flow. Different steps follow, including choosing a trigger, creating a workflow, and finally, specifying the filter query. This process applies a simple use of the Filter Query within Power Automate.
Practical examples of Power Automate filter queries include filtering by a single field, multiple fields, lookup fields, and date fields. Important to note, operators such as "eq", "ne", and functions like "startswith(Fieldname,'string')" are part of the OData protocol used by Power Automate.
OData queries in Power Automate are case-insensitive, offering ease in fetching items without case concern. Creating an OData filter query involves selecting an action like 'Get items', entering the OData query, applying multiple criteria using logical operators, and using functions for more complex filters.
Remember to verify field internal names, consider case sensitivity, use quotes correctly, and format dates in ISO 8601 format for accuracy. Avoid common mistakes such as neglecting case sensitivity, mishandling special characters, ignoring delegation warnings, and ensuring correct internal field names. Adhering to these best practices ensures the creation of efficient and impactful automated workflows.
Filter queries in the 'Get items' and 'Get files' actions of Power Automate streamline SharePoint workflows. Mastery of this feature can considerably boost productivity and enhance data management. For further mastery, consider taking a comprehensive Power Automate training course.
Final Notes
Power Automate can significantly accelerate and optimize workflows, especially through the use of filter queries that target specific items in databases like SharePoint. These filters allow for precise conditions to narrow down results, saving time and computing resources. As a no-code/low-code tool, Power Automate provides users with the ability to construct complex workflows that meet specific business needs.
Keywords
SharePoint Get Items Filter, Power Automate Filter Query, SharePoint Power Automate Query, Filter Items in Power Automate, Power Automate SharePoint Integration, Query SharePoint List Power Automate, Power Automate OData Filter, SharePoint List Filter Power Automate, Power Automate Get Items OData, SharePoint Online Filter Query Power Automate