![[NEW VIDEO] How to Make Personal Booking Page in Microsoft 365](https://img.youtube.com/vi/LDknW9fVrT0/hqdefault.jpg "[NEW VIDEO] How to Make Personal Booking Page in Microsoft 365")
[NEW VIDEO] How to Make Personal Booking Page in Microsoft 365
Content Creator & former Microsoft Product Manager
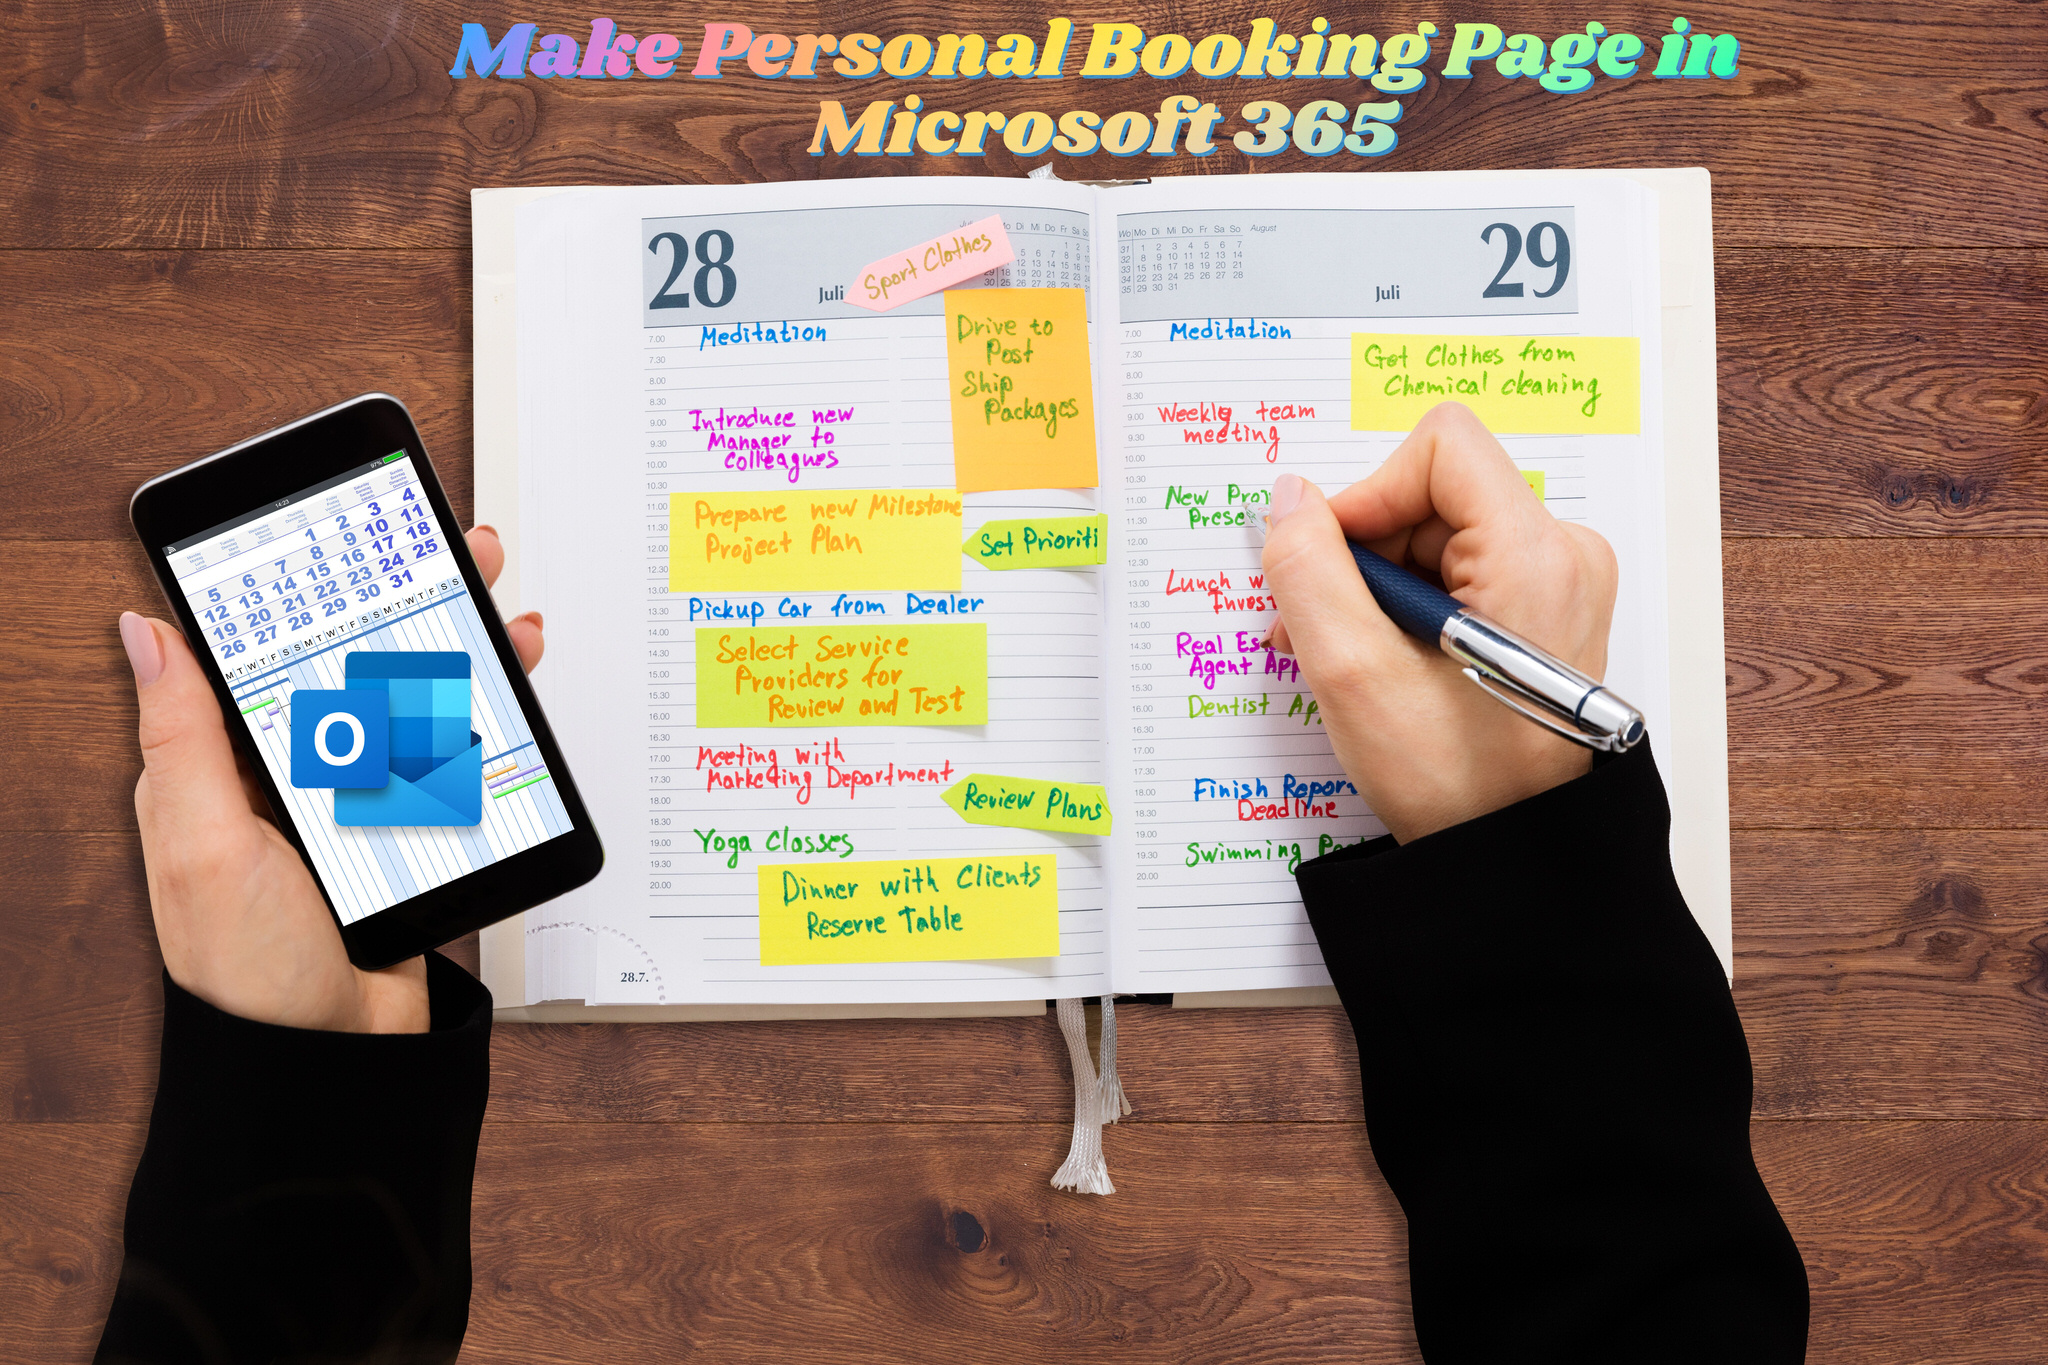
In this step-by-step tutorial, learn how to make a personal bookings page using Microsoft Outlook.
Learn how to make a personal bookings page using Microsoft Outlook in this step-by-step tutorial. A booking page allows you to set up a website for people to book time with you based on your calendar availability, eliminating back-and-forth scheduling hassles. Note that you need a Microsoft work or school account for this process.
Resources:
- Set up personal booking page: book.ms/
- Outlook on the web: www.outlook.com
Timestamps:
- 0:00 Introduction
- 0:29 Get to personal booking page
- 1:06 Add new meeting type
- 3:03 Share booking page
- 4:26 Book a meeting
- 5:42 Manage meeting
- 5:57 Shared booking page
- 6:34 Wrap up
The new personal bookings page feature in Microsoft Outlook, also known as "Bookings with me", simplifies the process of scheduling meetings by integrating directly with the Outlook calendar. This feature allows you to create custom meeting types, set your availability and preferences, and share a link with others, who can then easily schedule time with you. Both parties receive an email confirmation, and attendees can update or cancel scheduled meetings directly from your Bookings page.
To access and set up your personal bookings page:
Go to https://outlook.office.com/bookwithme/ or use the "Create bookings page" menu item in your Calendar on Outlook for web. After the setup, this menu item will change to "Edit bookings page".
To create a new meeting type, click the plus sign in the Public meeting pane. This will also initiate the Bookings page setup process. You will then enter a title for the meeting type, which will automatically appear on invitations created from this meeting type. Then click "Save" to proceed. You can also customize your meeting with settings like category, description, location, duration, and whether it's public or private. There are also detailed timing specifications you can set up, such as meeting hours, buffers before and after the meeting, limit start time, minimum lead time, and maximum lead time.
The setup of the Bookings page requires some initial processing time. A progress bar will indicate the setup's status, which you can dismiss once the setup is complete.
Once the setup is complete, you can personalize your page and let others know it's available. You can change your banner image, copy the link to your public Booking page for easy sharing, share via email, or automatically add the link to your Outlook email signature.
The personal bookings page in Outlook on the web comes with two different views: the Organizer view and the Scheduling view. The Organizer view enables users to create custom appointment types, while the Scheduling view is visible to other people when an Outlook user shares their personal bookings page.
Microsoft began rolling out this new feature in preview to commercial customers in mid-June. It will be available by default to all Microsoft 365 Business and Microsoft 365/Office 365 E1/E3/E5, F1, F3, A3, and A5 subscribers, and IT admins can disable this feature for users in their organization if they choose.
Overall, this new feature is intended to simplify appointment scheduling for users, eliminating the need for third-party tools and helping businesses, especially SMBs with limited resources, manage appointments with customers.
More about Personal Booking Page in Microsoft 365
A personal bookings page in Microsoft 365 enhances your productivity by streamlining the meeting scheduling process. By setting up a booking page through Microsoft Outlook, you can share your availability with clients and colleagues so they can schedule meetings at a mutually convenient time. This feature minimizes communication issues and saves time, allowing you to focus on more important tasks. Keep in mind that this feature requires a Microsoft work or school account.
Learn about How to Make Personal Booking Page in Microsoft 365
Microsoft 365 provides users with the ability to set up a personal booking page, which allows people to book time with them based on their availability on their calendar. This eliminates the back and forth that is usually associated with scheduling meetings. To set up a personal booking page, users need a Microsoft work or school account. This step-by-step tutorial will teach users how to make a personal bookings page using Microsoft Outlook. It will cover the steps to set up the page, add a new meeting type, share the booking page, book a meeting, manage a meeting, and view the shared booking page. Finally, users can also check out a related video about how to use Microsoft Bookings and sign up for a newsletter to get the latest high-quality tutorials and tips and tricks videos emailed to their inbox each week.
More links on about How to Make Personal Booking Page in Microsoft 365
- Create a Bookings calendar
- In Teams, select Bookings > Get started. Choose New booking calendar or Existing booking calendar. Type in a business or department name — this name will be ...
- Creating a Personal Bookings Page with “Bookings with Me”
- Aug 31, 2022 — 1) Visit outlook.office.com and click on Calendar. 2) Click the Create bookings page link (this later becomes 'Edit bookings page').
- Using Office 365's 'Bookings with me' formerly Personal ...
- Organizer view A personal booking page where you can create meeting types that others can book with you. Custom meeting types give you the ability to ...
- Using Outlook's Booking with Me Feature
- Jul 25, 2022 — To book a meeting, use the link to someone's bookings page or the link to a private meeting time that's been shared with you. Booking with Me ...
- Article - Microsoft Bookings - servicedesk@msstate.edu
- Apr 6, 2023 — Personal booking page · Click Share > Copy Link and paste the link into a Teams chat, webpage, or other document. · Click Share > Share via email ...
- Microsoft Bookings - Setup and Publish your Booking Page
- Apr 25, 2023 — Setup and Publish your Booking Page. While in the Bookings App, choose your calendar. From the left navigation pane, select Booking page.
- Integration with Microsoft Bookings
- 1. Accessing Microsoft Bookings from the app launcher in Microsoft 365. If you haven't used Microsoft Bookings yet, you will need to create a booking page first ...
- How to Use Microsoft Bookings with Me - Your Starting Guide
- Jan 9, 2023 — Underneath the calendar on the left click on “Create bookings page”. Alternatively, you can go to https://outlook.office.com/bookwithme/me.
Keywords
Create personal booking page, Microsoft Outlook Bookings, Microsoft Bookings Tutorial, Set up personal booking page, Outlook on the web, Manage meeting with Microsoft Outlook