
Word
Mar 3, 2025 6:30 AM
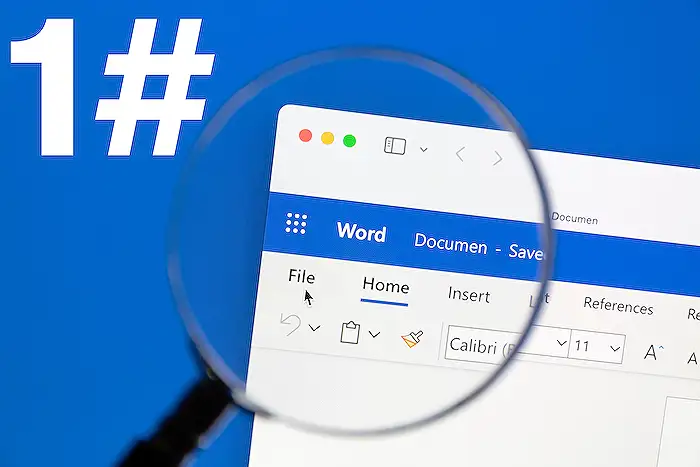
Microsoft Word Magic: Effortlessly Auto-Create Your Table of Contents! 📖✨
by HubSite 365 about Kevin Stratvert
Content Creator & former Microsoft Product Manager
Create, update and customize a Table of Contents in Word using heading styles, Navigation Pane, and quick access tips.
Key insights
- Automatic Table of Contents: Learn to create a Table of Contents in Microsoft Word that updates automatically, eliminating the need for manual adjustments.
- Heading Styles: Apply heading styles like Heading 1, Heading 2, and Heading 3 to structure your document effectively for an accurate TOC.
- Inserting TOC: Insert your Table of Contents by navigating to the References tab and choosing from built-in formats or customizing it as needed.
- Updating TOC: Keep your Table of Contents current by right-clicking it and selecting 'Update Field' whenever you make changes to headings or page numbers.
- Customization Tips: Modify your TOC style by right-clicking and selecting 'Modify' to ensure consistency and clarity in document navigation.
- Pro Tip: Use Ctrl + Click on the TOC entries for quick access to different sections, enhancing document navigation efficiency.
Introduction to Creating an Automatic Table of Contents
Creating a Table of Contents (TOC) manually in Microsoft Word can be a daunting task, especially for lengthy and intricate documents. Fortunately, Microsoft Word provides an automated feature that allows users to generate a well-structured and precise TOC with just a few clicks. In a recent YouTube video by Kevin Stratvert, viewers are guided through the process of creating an automatic Table of Contents, ensuring their documents are organized and professional. This tutorial is particularly beneficial for those working on reports, theses, or business documents. Let's delve into the key steps and insights shared in the video.Formatting Your Document with Heading Styles
The first crucial step in generating an automatic Table of Contents is to format your document using heading styles. Proper formatting ensures that your TOC accurately mirrors the structure of your document. Here's how you can do it:- Highlight your headings within the document.
- Navigate to the Home tab and select the appropriate heading styles, such as Heading 1, Heading 2, or Heading 3.
Inserting an Automatic Table of Contents
Once your document is formatted with heading styles, the next step is to insert the automatic Table of Contents. This process is straightforward and can be accomplished in a few simple steps:- Place your cursor where you want the Table of Contents to appear in your document.
- Go to the References tab in Microsoft Word.
- Click on Table of Contents and choose from one of the built-in formats or select Custom Table of Contents for more options.
Updating Your Table of Contents Automatically
As you continue to work on your document, you may add new sections or edit existing headings. To ensure your Table of Contents remains accurate and up-to-date, you can easily update it automatically:- Right-click on your Table of Contents.
- Select Update Field from the context menu.
- Choose Update entire table to reflect all changes made to your document.
Customizing Your Table of Contents
Customization is key to creating a Table of Contents that aligns with your document's style and purpose. Kevin Stratvert's tutorial offers insights into how you can personalize your TOC to suit your needs:- Consistently use heading levels (H1, H2, H3) to maintain a clear hierarchy.
- Right-click the TOC and select Modify to adjust styles and formatting.
Pro Tips and Additional Features
In addition to the basic steps, Kevin Stratvert shares several pro tips and features that enhance the usability of your Table of Contents:- Utilize the Navigation Pane for quick navigation through your document.
- Learn how to collapse and expand sections for a cleaner view.
- Use Ctrl + Click to jump directly to sections from the TOC.
Conclusion: Embracing Automated Simplicity
In conclusion, the ability to create an automatic Table of Contents in Microsoft Word is a powerful tool for anyone looking to produce organized and professional documents. By following Kevin Stratvert's step-by-step tutorial, you can transform the way you approach document creation, saving time and reducing the potential for errors. Whether you're a student, professional, or casual user, these techniques will empower you to craft documents that are both functional and aesthetically pleasing. Embrace the simplicity of automation and say goodbye to the challenges of manual formatting.
Keywords
Table of Contents Microsoft Word automatic create guide tutorial step-by-step instructions 2025
HubSite 365 Apps